
EDC Photography:
Part 5: Post-Processing – Local Adjustments
Series Contents:
-
Introduction
-
Part 1: Composition
-
Part 2: Lighting
-
Part 3: Color
-
Part 4: Post Processing – Global Adjustments
- Part 5: Post Processing – Local Adjustments (You’re Here!)
-
Part 6: Post Processing – HSL
In the last part, we covered how you can tweak your image in post after you’ve already taken the picture, but all those edits affected the entire image. What if you only wanted to make the handle of a knife brighter? Or what if you only want the left side of the image a bit darker?
Those kinds of edits are called Local Adjustments and are a very powerful way to pinpoint your changes to very specific parts of your image. In this part, we’ll cover the most commonly used tools for local adjustments.
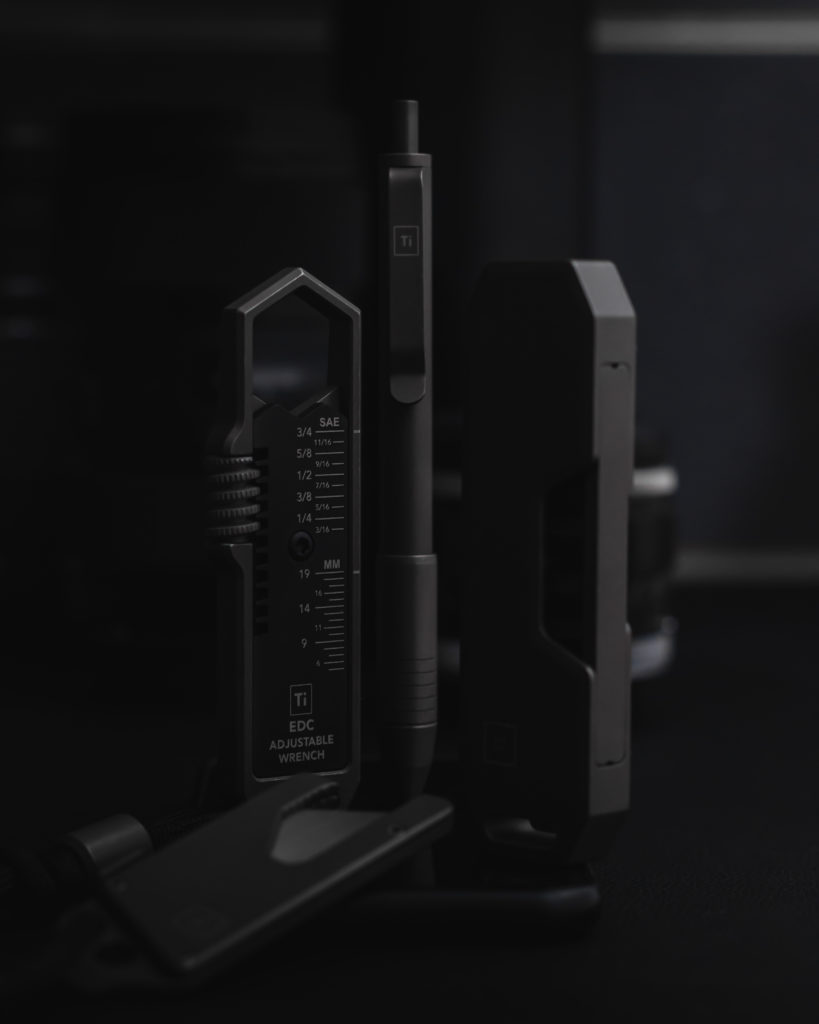
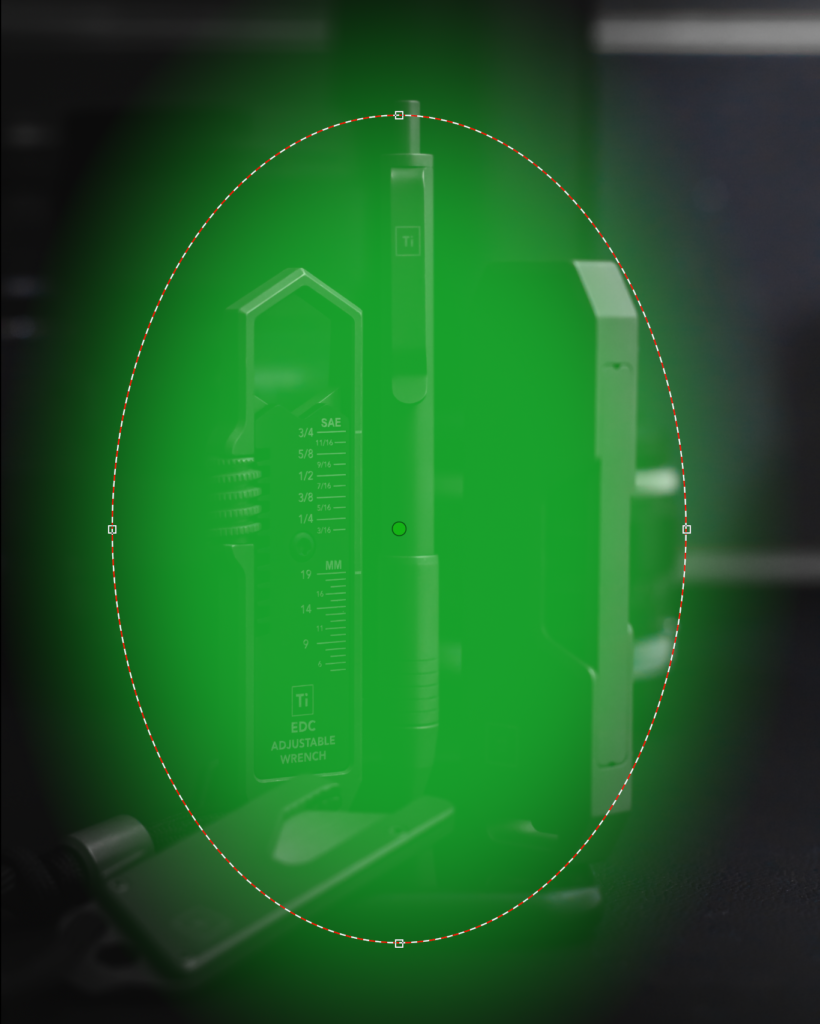
Radial Filter
![]()
The radial filter marks a circular or oval area in which all the edits you make will be limited. It’s a great tool to highlight certain areas as if they were lit by a spotlight.
Image by @raven_the_pirate
Image by @raven_the_pirate
Image by @raven_the_pirate
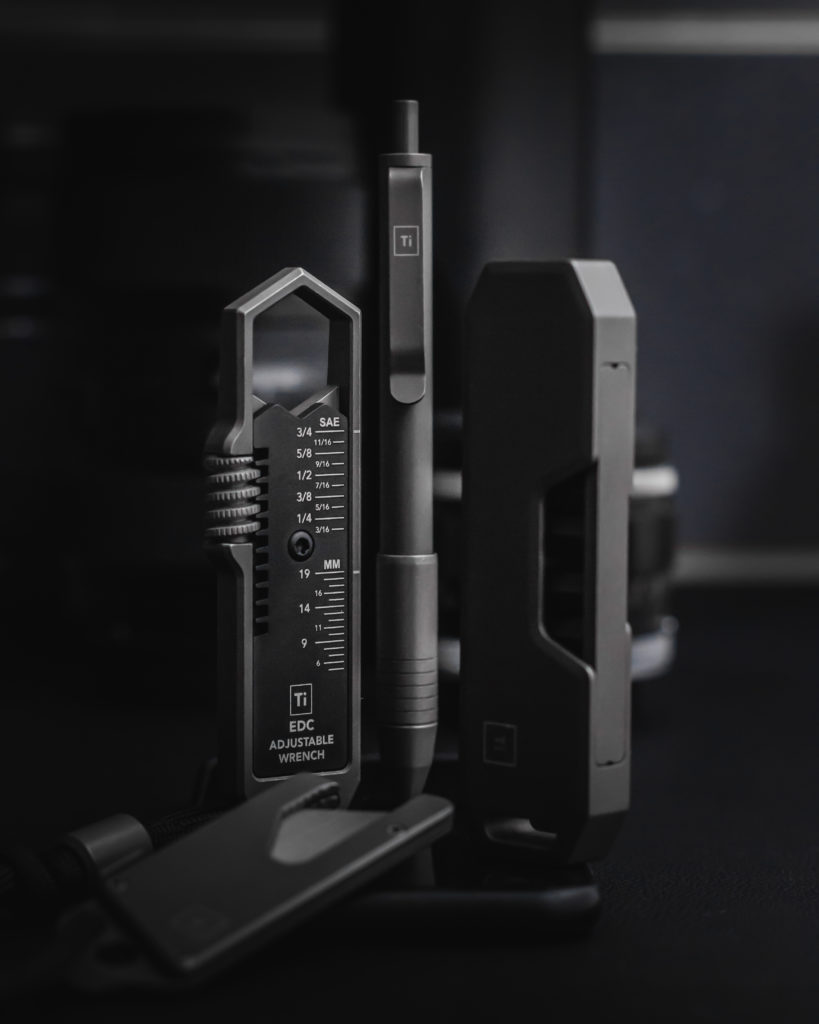
In this example, I selected the subjects in the center and raised the exposure and the clarity settings to make them brighter and add more contrast and details, while leaving the rest of the image intact.
Pro tip: use the feather slider to make the edges of your selection as soft as possible to create a more natural transition.
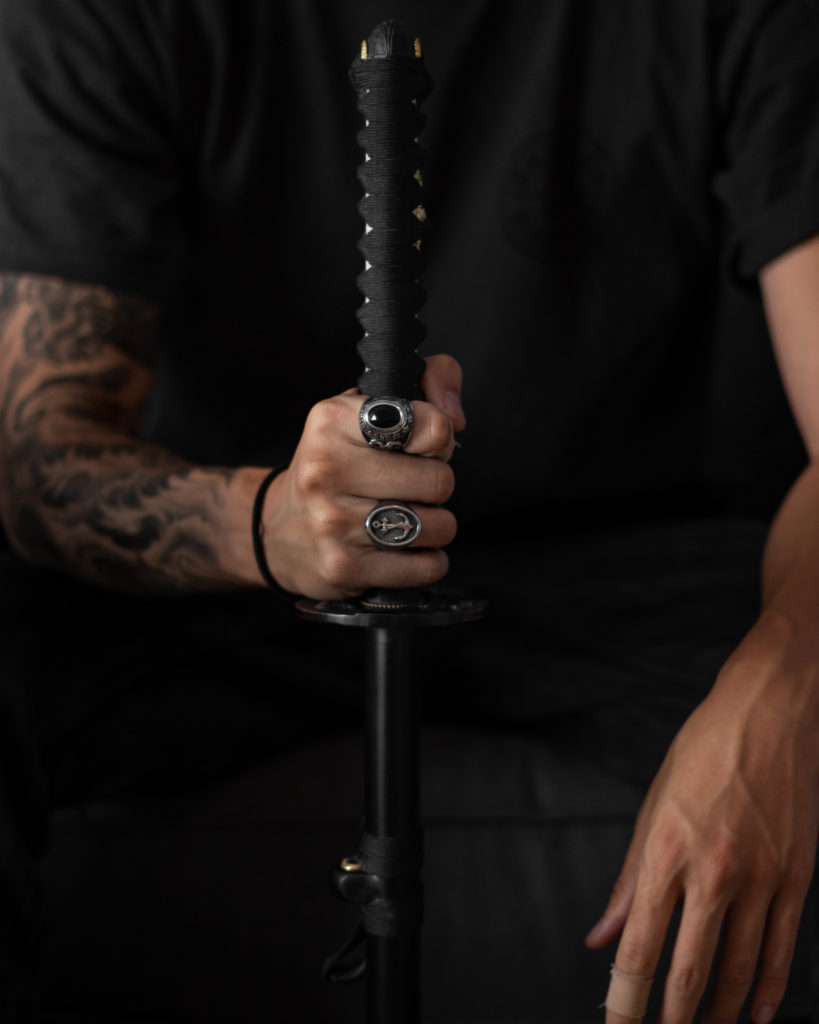
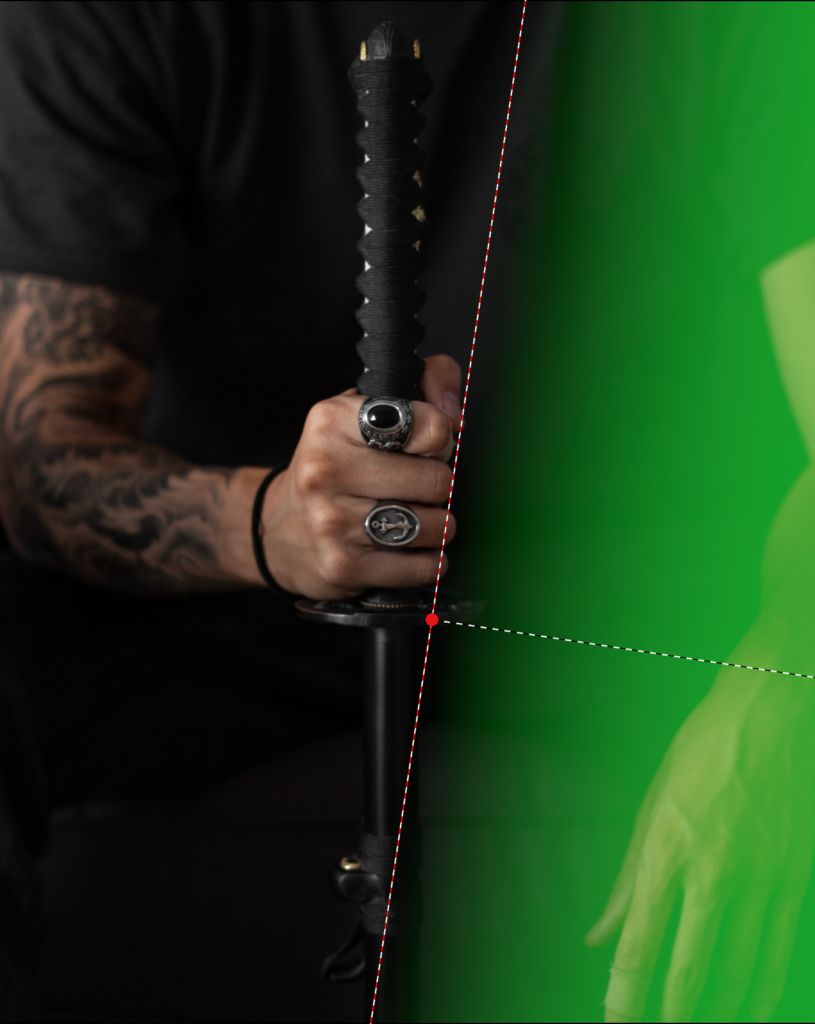
Gradient Filter
The gradient filter works the exact same way as the radial filter, but instead of a circular selection, it creates a linear gradient.
Image by @raven_the_pirate
Image by @raven_the_pirate
Image by @raven_the_pirate
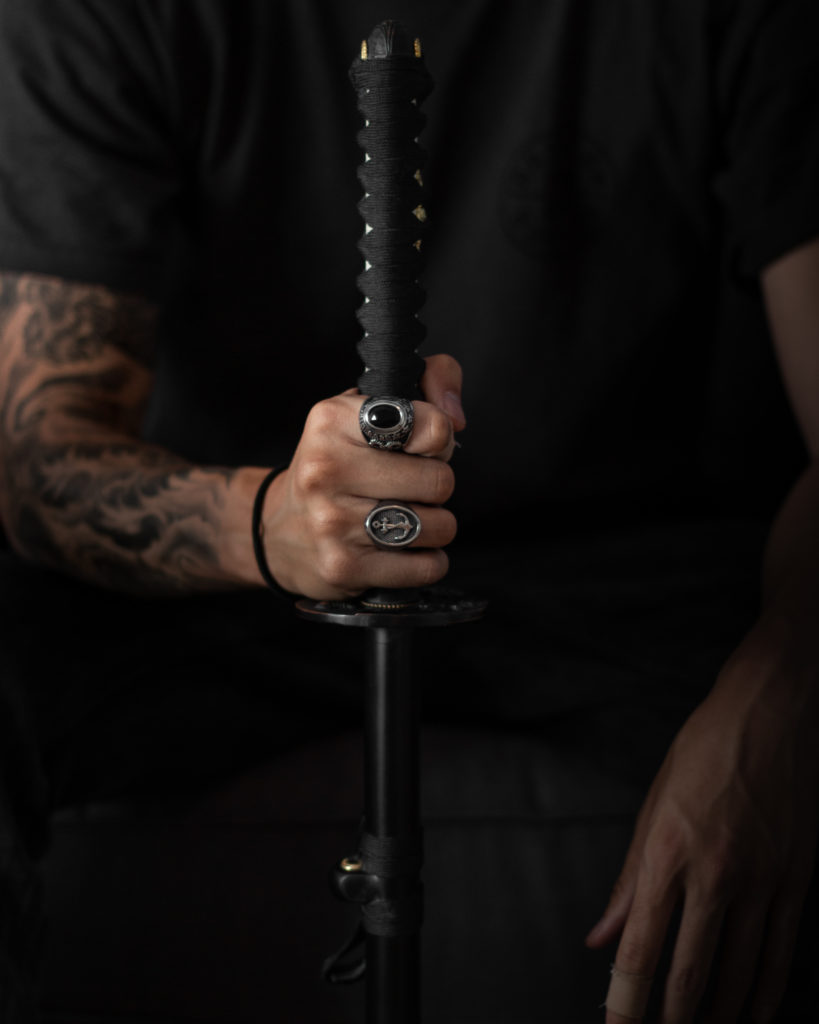
In this picture, the right (or my left) arm is too bright and too saturated and therefore distracts from the main focus, which is the hand holding the Katana.
I used the gradient filter to create a gradient (who would’ve thought) from the right side inwards, in order to cover the arm, but also create a smooth transition into the rest of the image. I then lowered the exposure and saturation, this way your eyes are not distracted and will immediately go to the hand with the rings.
Pro tip: anything that is in shadows will be lower in saturation too. So, whenever you make something darker, you should also desaturate it a little bit in order to make it look real.
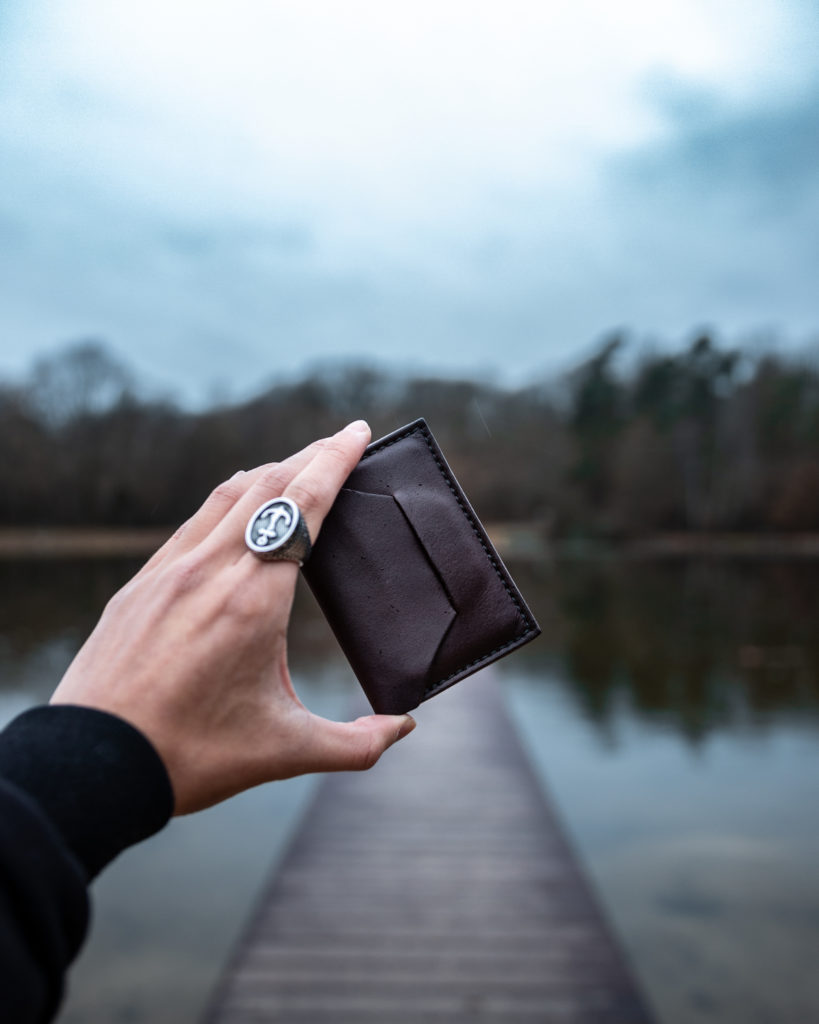
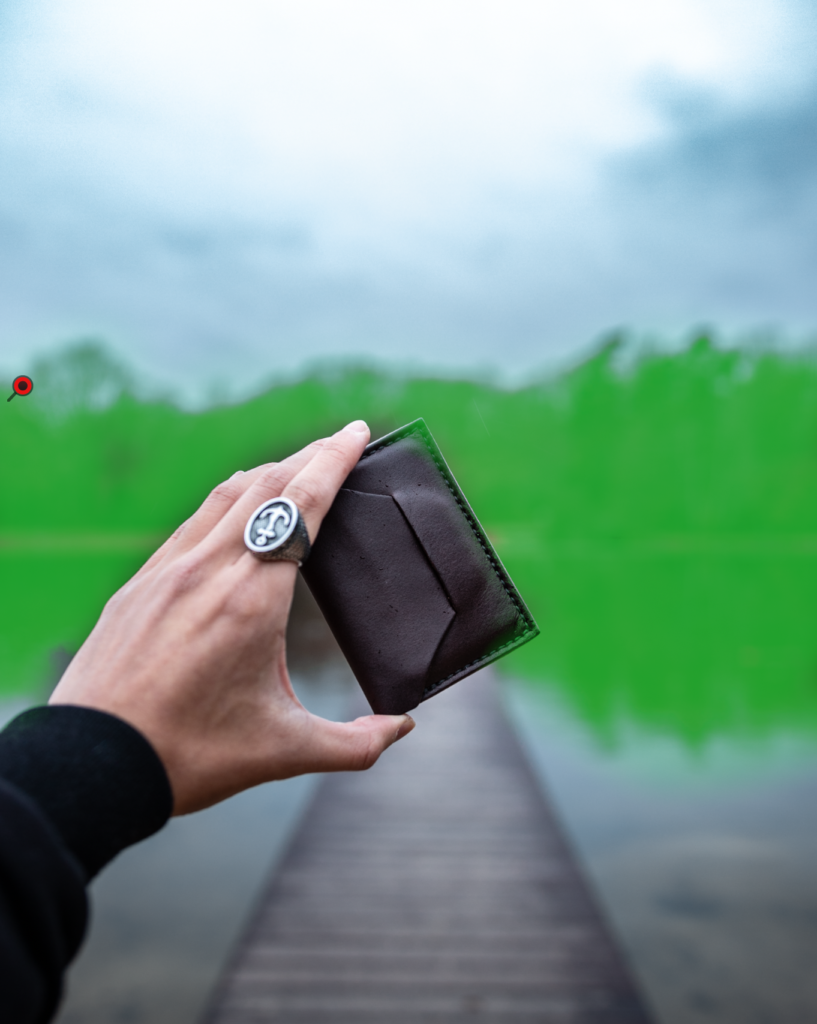
Adjustment Brush
![]()
The adjustment brush is the perfect tool whenever you need to create more intricate selections
Image by @raven_the_pirate
Image by @raven_the_pirate
Image by @raven_the_pirate
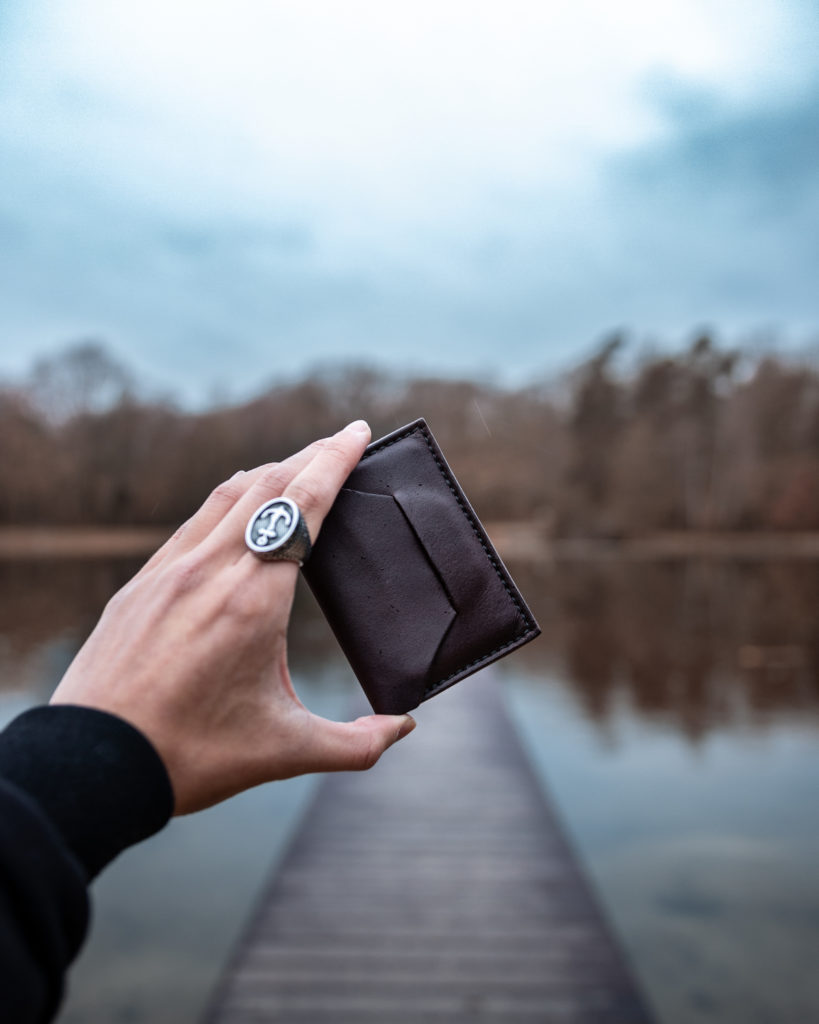
The forest in the background of this image is too dark and too close to the color of the wallet for the wallet to stand out. It almost disappears in front of the forest. I used the adjustment brush to select the trees as well as their reflections and then raised the exposure and shifted the color temperature more towards the warm side. This way the dark wallet has a lot more contrast against the lighter trees and the color is different enough to create further separation.
The advantage of all these three tools is that you can always go back and adjust your selection and the edit that is being done to the selected area at any given time. You can also combine them to create some stunning effects.
Putting it All Together: Light Shaping
A technique I like to use is what I call Light Shaping. I use a combination of those tools to make certain parts of an image darker, other parts lighter and shape the light to my liking. It’s basically like flagging the light in real life to direct it, but only in post.
It looks something like this:
https://youtu.be/c98OqcaPAXg
Image by @raven_the_pirate
Image by @raven_the_pirate
This gives your image a more dramatic look and also helps to blend out the secondary parts of the image in order to keep the focus on the subjects.
Playing with light adds dimension and will always look more interesting than a flat image.
Obviously, you can achieve the same effect in-camera by directing your light source, flagging the parts of your image that you would want to leave in shadows, use reflectors to hit the key clip on the backside of the body, etc. But if you don’t have the means or the time to do it on set, this is a very easy way to get the same (or let’s say similar) results.
Next stop: Part 6 – Post-Processing – HSL
3 thoughts on “EDC Photography: Part 5 – Post-Processing – Local Adjustments”